JR Chronicles – Saatchi Gallery
JR: Portrait of a Generation (2004 - 2006)
We visited the Saatchi Gallery in London to view an exhibition by JR. JR is a French photographer and street artist whose identity is unconfirmed. JR flyposts large black-and-white photographic images in public locations. He says that the street is "the largest art gallery in the world."
The photos in Portrait of a Generation show the young people who live in Montfermeil, which is a suburb of Paris. The people in the photos are all pulling scary faces.
In 2005 riots broke out in Montfermeil and spread through the city after deaths of two teenage boys who were hiding from police. A French MP called the rioters "Scum." JR wanted to challenge the way the public viewed the rioters.
JR used a 28 mm lens to shoot the black and white full-frame portraits. He then made very large prints of the pictures and displayed them across public walls in Paris.
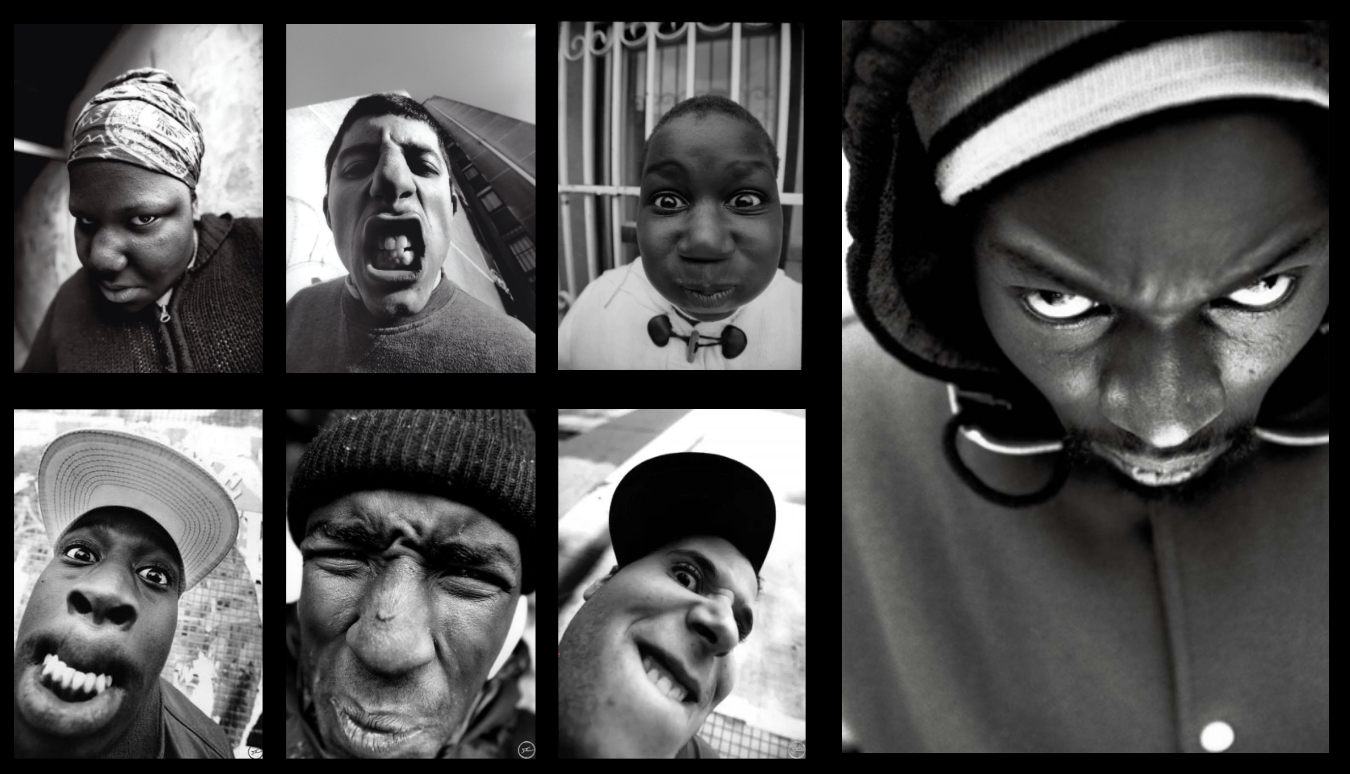
Photos by JR.
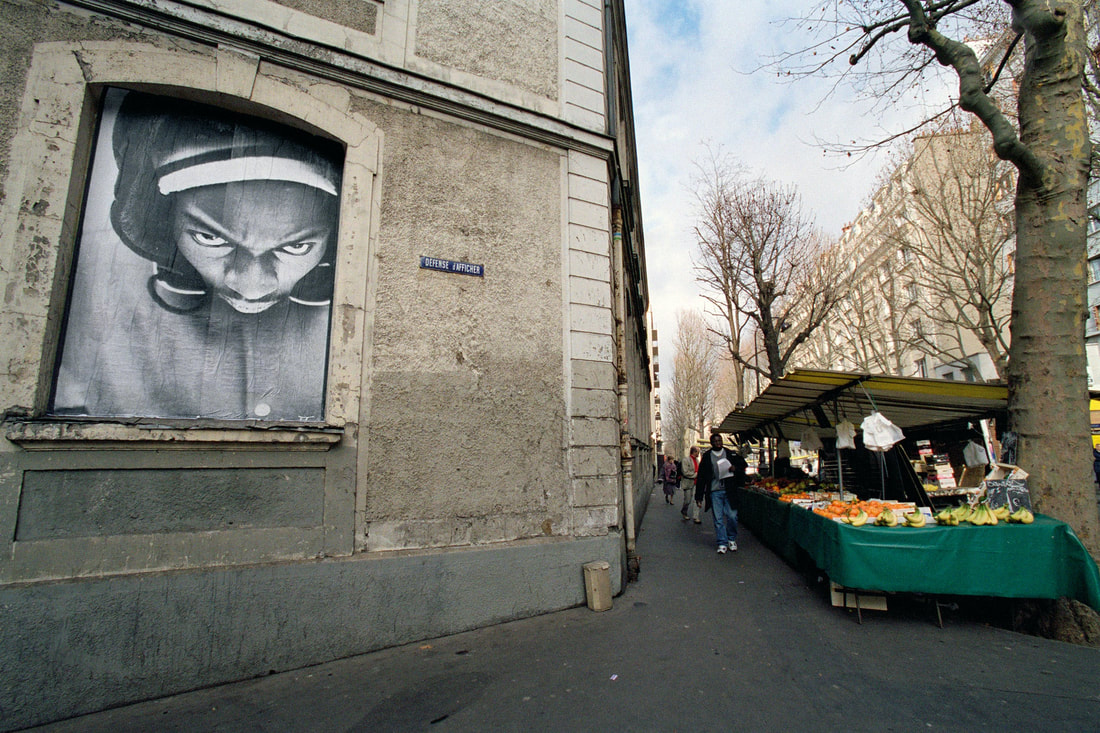
One of JR's photos on display in Paris
My Response
I made a series of images in the style of JR's Portrait of a Generation project. I used a DSLR to take a picture of one of my friends at school. I then used the website Rasterbator which allowed me to change picture to black and white. The photos are also turned into dots, which you see up close, but from far away just look like normal pictures. I hung the picture to the outside walls around school. I then took photos of it while on display to show how similar it looks to JR's work.
I made a series of images in the style of JR's Portrait of a Generation project. I used a DSLR to take a picture of one of my friends at school. I then used the website Rasterbator which allowed me to change picture to black and white. The photos are also turned into dots, which you see up close, but from far away just look like normal pictures. I hung the picture to the outside walls around school. I then took photos of it while on display to show how similar it looks to JR's work.
Editing the photo
I used the website Rasterbator to edit my original picture.
I used the website Rasterbator to edit my original picture.
Step 1
I first uploaded the photo I wanted to use for the project onto the website. You can also change the output size at this stage.
I first uploaded the photo I wanted to use for the project onto the website. You can also change the output size at this stage.

Step 2
The next stage I chose what effects I wanted to add to the photo. I chose black and white rasterbation.
The next stage I chose what effects I wanted to add to the photo. I chose black and white rasterbation.

Step 3
Finally I selected interlaced half tone for the dotted effect. It allowed me to select circle shaped dots and the size of the dots. Once completed I download the photo to my desktop and printed it out.
Finally I selected interlaced half tone for the dotted effect. It allowed me to select circle shaped dots and the size of the dots. Once completed I download the photo to my desktop and printed it out.

What went well
I think the the process of using Rasterbator went really well. The website did a really good job of maiking the pictures look like JR's. When I stuck the pictures up, the pictures looked good with the different walls as a background. I also took lots of photos so it gave me a lot of options for what I liked most.
Even better if
I should have made sure the camera was focus properly when I was taking the photos of the hanging posters. I also could have given the photos of the poster more space so the viewer can see what the environment around it looks like.
Top Three
Below are my best images from the project showing the poster on display.


